Pompom making tutorial
I’ve got a bit of a thing for pompoms… I just seem to get a real kick out of them. Strange? Probably.. but if it makes you happy, then go with it I say! I had a market stall on the weekend and the number one thing that got the most attention and praise? My pompom garland. It’s not for sale, I just always hang a pompom garland if I’m given the chance. Party, event, bedroom decoration; they have a way of always making you feel good.
They are a great first project for little children but also a wonderful remedial activity for a tired brain needing a little making fix.
I thought I’d share with you a few pompom making tips to ensure a perfect pompom every time.
Match up and press the two wooden pompom maker pieces together.
Choose your first colour and unwind your mini skein a little way. Hold the end of the yarn securely as you get going…. you could press it between the two timber pieces to hold it in place.
Wind the length of yarn around and around the ¾ circle shape.
Mix up your colour combinations within the one pompom. It looks fantastic and add real visual interest. You can change colours by simply swapping to a different yarn partway through your winding.
Pompoms should be fluffy and plump. Pack as much yarn as you can onto your pompom maker. I completely fill the central hole or gap.
Once your centre is tightly filled and the yarn is of an even thickness on the ¾ circle shape, start to feed the thin linen thread between the handle of the two timber shapes.
With small sharp scissors (get an adult to help with this part if you need it), carefully start to snip through the yarns, (but not the linen thread) at the outer edge of the wooden makers. Pull and drag the linen thread through the gap of the wooden makers behind you. I like to do a bit of snipping, then pull the linen thread through a bit and repeat.
Once you have snipped all the way around your shape and you have pulled the linen string all the way around, you can now pull the linen thread tight and tie it with a double knot at the centre of the circle shape. This ties all the short snipped lengths of yarn together in the middle. You may need someone to tie the linen thread for you whilst you hold the pompom maker firmly to stop your short snipped pieces from moving too much.
You can either remove the pompom maker and then give a hair cut or give a hair cut and then remove the pompom maker. The order of these steps is your choice.
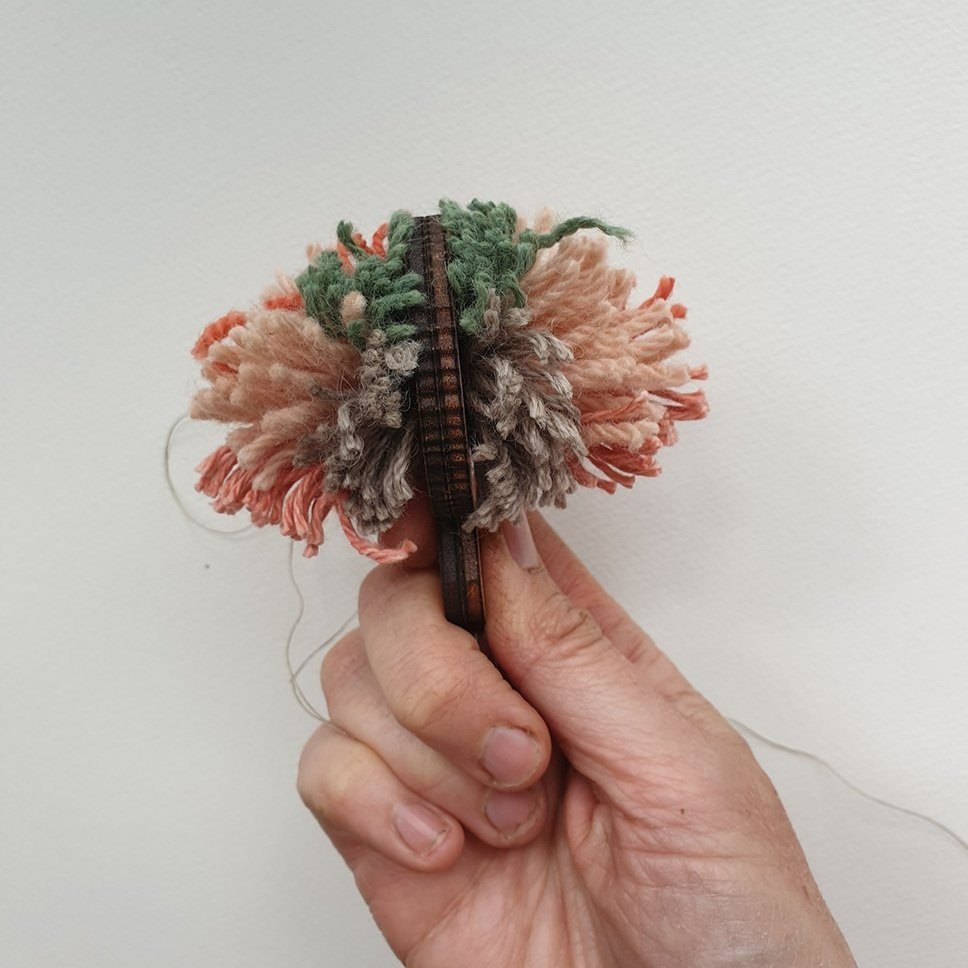
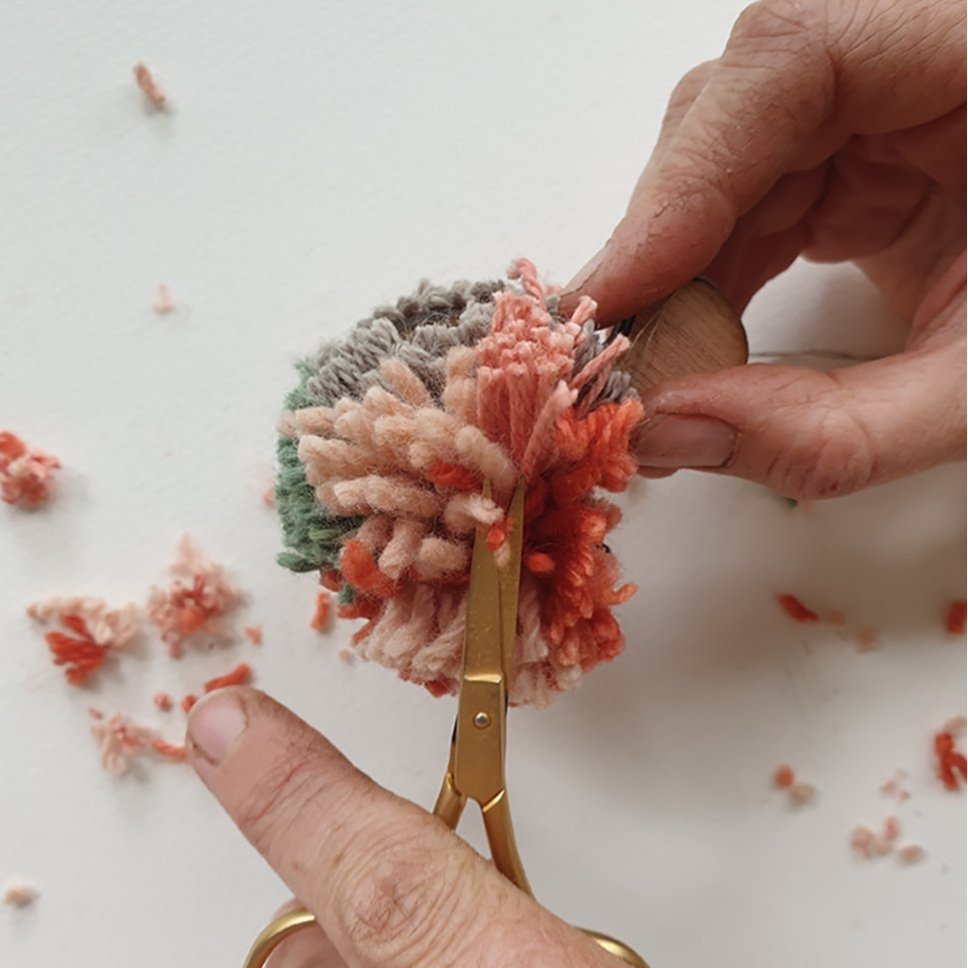
Carefully and slowly pull the wooden pompom makers outwards and off the pompom. Fluff it up with your hands and give it a little hair cut by snipping any uneven lengths of yarn down to make a neater ball shape. Don’t go too crazy even though this part is so much fun!
Before haircut…..
Midway through haircut….
Pompoms are hand-made and therefore should look hand-made. Don’t worry if they are wonky and imperfect – this shows that they were hand-made with love and intention. Using naturally dyed yarns adds to the hand-made story that you are telling.
Ta da!!! Finished pompoms.
Some ideas to try :
* Share the pompom love: adorn presents with a single pompom. So simple and sweet and they also look very nice under the christmas tree all together.
* A pompom garland is a beautiful thing. (did I already say that?!) Tie your pompoms along the one length of string. But be careful as a pompom tangle can easily occur if the garland goes slack! Far better for the planet than decorating your party with balloons. Plus you get to keep it.
*Use up your yarn stash. A brilliant and cheap way to make new pompoms is to use up your scrap lengths of yarn. A mix of textures and weight is no problem.


